Shrinking a shirt without ruining the design can be a delicate process, but with the right approach, you can achieve the desired size while preserving the integrity of the graphics or print. Here’s a step-by-step guide on how to shrink a shirt without compromising the design:
Contents
1. Check the Fabric Care Label:
- Begin by checking the fabric care label on the shirt. Understanding the material is crucial, as different fabrics react differently to heat and washing methods.

2. Turn the Shirt Inside Out:
- To protect the design, turn the shirt inside out before proceeding with any shrinking method. This helps minimize direct exposure of the graphics to heat and friction.
3. Use Cold Water:
- If the shirt is made of a delicate material or has vibrant prints, consider using cold water. Cold water is less likely to cause bleeding or fading of colors. Hand wash the shirt or use the cold water setting on your washing machine.

4. Air Dry or Low Heat:
- After washing, opt for air drying or use the lowest heat setting on your dryer. High heat can damage the fibers and affect the design. If using a dryer, check the shirt periodically and remove it while still slightly damp.
5. Steam or Iron with Caution:
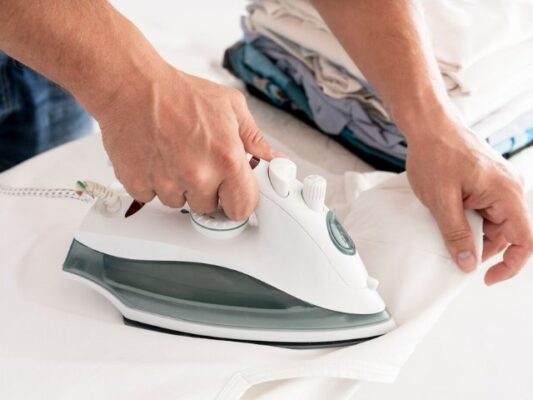
- If you need additional shrinking, you can use steam or a low-heat iron. Steam the shirt by hanging it in the bathroom while you take a hot shower or use a garment steamer. If ironing, place a thin cloth or pressing cloth between the iron and the design to protect it.

6. Stretching Technique:
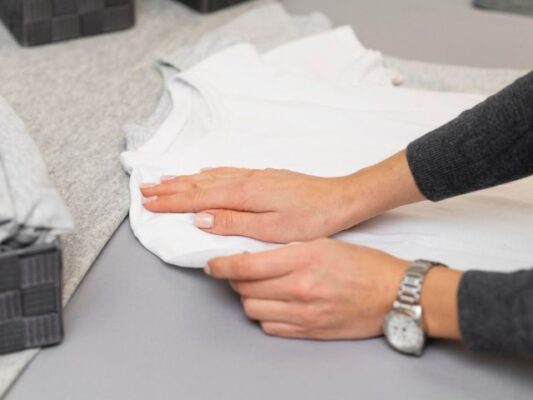
- While the shirt is still damp, gently stretch it back to its original size. This is especially effective for cotton shirts. Take care not to tug too hard, as it may distort the design.
7. Repeat the Process if Necessary:
- If the shirt hasn’t shrunk enough after the first attempt, you can repeat the process. However, be mindful not to over-shrink the shirt, as this may lead to unintended consequences.
8. Avoid Boiling Water:
- Avoid using boiling water, as it can be harsh on both the fabric and the design. Extreme temperatures may cause the colors to bleed or the fabric to become damaged.
9. Spot Test:
- Before applying any method to the entire shirt, spot test a small, inconspicuous area to ensure that the design can withstand the process without damage.

10. Professional Help:
- If the shirt has sentimental value or is particularly delicate, consider seeking professional help. Professional dry cleaners can provide specialized care to preserve both the fabric and the design.
Remember, the key is to be gentle and patient throughout the process. Monitor the shirt closely, especially if it has intricate designs or prints. By following these steps, you can successfully shrink your shirt to the desired size without compromising the visual appeal of the design.

