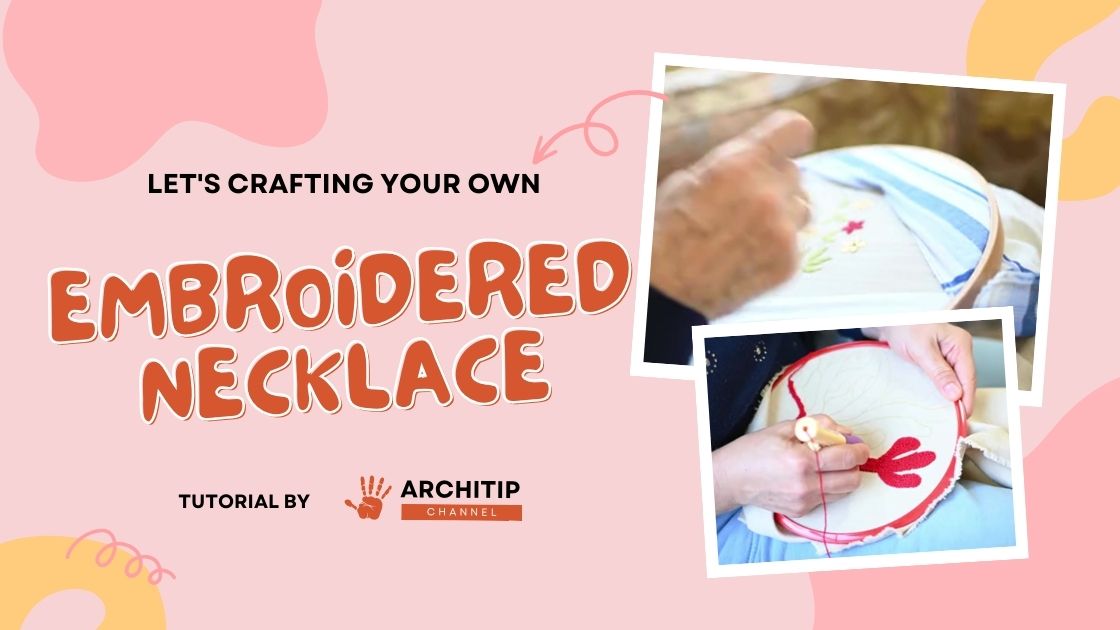
Greetings, fellow crafters! Are you ready to add a touch of elegance to your jewelry collection? Today, I’m thrilled to guide you through the process of creating a stunning Embroidered Necklace—a beautiful fusion of embroidery and jewelry-making that’s sure to dazzle anyone who sees it. So, let’s gather our supplies and dive into this delightful DIY project together!
Contents
- 1 Materials You’ll Need:
- 2 Step 1: Choose Your Design
- 3 Step 2: Prepare Your Fabric
- 4 Step 3: Stitch Your Design
- 5 Step 4: Finishing Touches
- 6 Step 5: Assemble Your Necklace
- 6.0.0.1 A DIY Guide To Designing Your Best T-Shirts
- 6.0.0.2 A Guide To Crafting An Impactful Logo
- 6.0.0.3 Crafting Your Wedding Invitations With 5 Unique Fonts
- 6.0.0.4 6 Best Handwriting Fonts To Elevate Your Designs
- 6.0.0.5 8 Tips Unlock Your Artistic Potential
- 6.0.0.6 5 Free Fonts Perfect For Commercial Projects
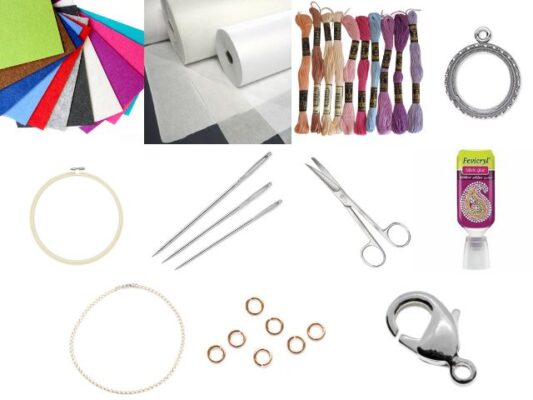
Materials You’ll Need:
- Base fabric (felt or linen)
- Iron-on interfacing
- Embroidery threads in assorted colors
- Pendant bezel setting
- Embroidery hoop
- Embroidery needles
- Scissors
- Fabric glue
- Chain or cord
- Jump rings
- Clasp
Step 1: Choose Your Design
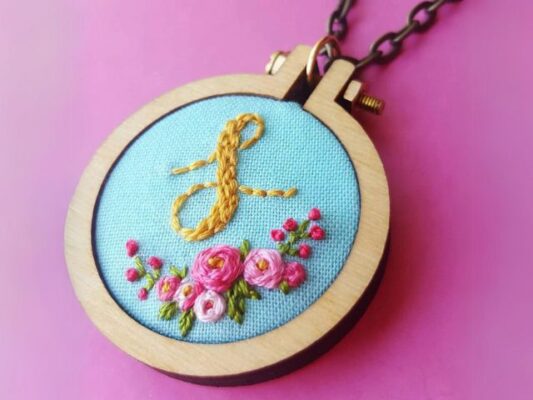
Begin by selecting a design for your pendant. Whether it’s a floral motif, a geometric pattern, or a personalized monogram, let your creativity run wild! Sketch your chosen design onto the base fabric using a pencil or fabric marker, ensuring it fits within the dimensions of your pendant bezel.
Step 2: Prepare Your Fabric
Layer your base fabric with iron-on interfacing to add stability and structure. Place the fabric in an embroidery hoop to keep it taut and secure while you work. This will help ensure precise stitching and prevent any fabric puckering.

Step 3: Stitch Your Design
Thread your embroidery needle with your chosen colors and begin stitching your design onto the fabric. Experiment with different stitches and techniques to add depth and texture to your pendant. Whether you opt for satin stitch, backstitch, or French knots, let your creativity shine through each stitch.
Step 4: Finishing Touches
Once you’ve completed your embroidery, carefully remove the fabric from the hoop and trim any excess fabric from the edges. Apply a small amount of fabric glue to the back of the fabric to secure it in place.
Next, place the embroidered fabric into the pendant bezel setting, ensuring it fits snugly. Use fabric glue to secure the fabric to the setting, then allow it to dry completely.
Step 5: Assemble Your Necklace
Thread a chain or cord through the loop on the pendant setting, adjusting the length to your preference. Attach jump rings and a clasp to the ends of the chain to complete your necklace.
Congratulations! You’ve crafted your very own Embroidered Necklace—a breathtaking piece of jewelry that showcases your creativity and craftsmanship. Admire your handiwork and wear your necklace with pride, knowing that it’s a one-of-a-kind creation made by you!
Thank you for joining me on this creative journey! I hope you’ve enjoyed learning how to make your own Embroidered Necklace. Whether you wear it yourself or gift it to a loved one, I’m certain it will be treasured for years to come. Happy crafting!
Related Posts
- Do You Know These 6 Font For Nature Lover?
- Shrink Your Shirt Careful, Don’t Ruining The Design!
- A To Z About Victorious Festival 2024 You Wanna Know